• Skip to primary navigation
  • Skip to main content
  • Skip to footer

Sustainable Life & Health

Be the most VIBRANT you!

SEARCH

  • Home
  • About Me
  • Blog
  • Helping Hand
  • Let’s Connect
  • Testimonials
You are here: Home / Archives for peanut butter

peanut butter

Difference between CACOA and COCOA

September 11, 2015 by Joni Leave a Comment

raw cacoa

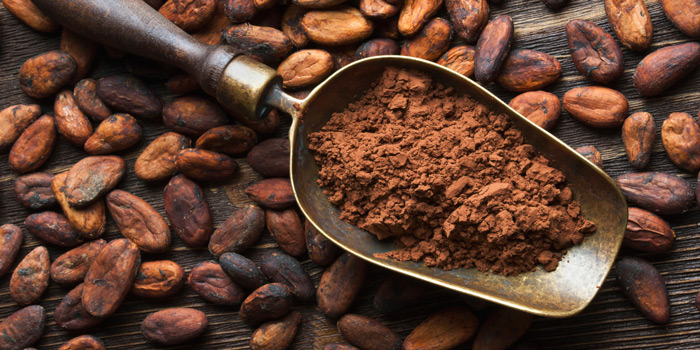
Cacao is a bean from cacao plant. The scientific name of cacao is Theobroma cacao. Cacao pods are large in size, which grow from the Cacoa Plant
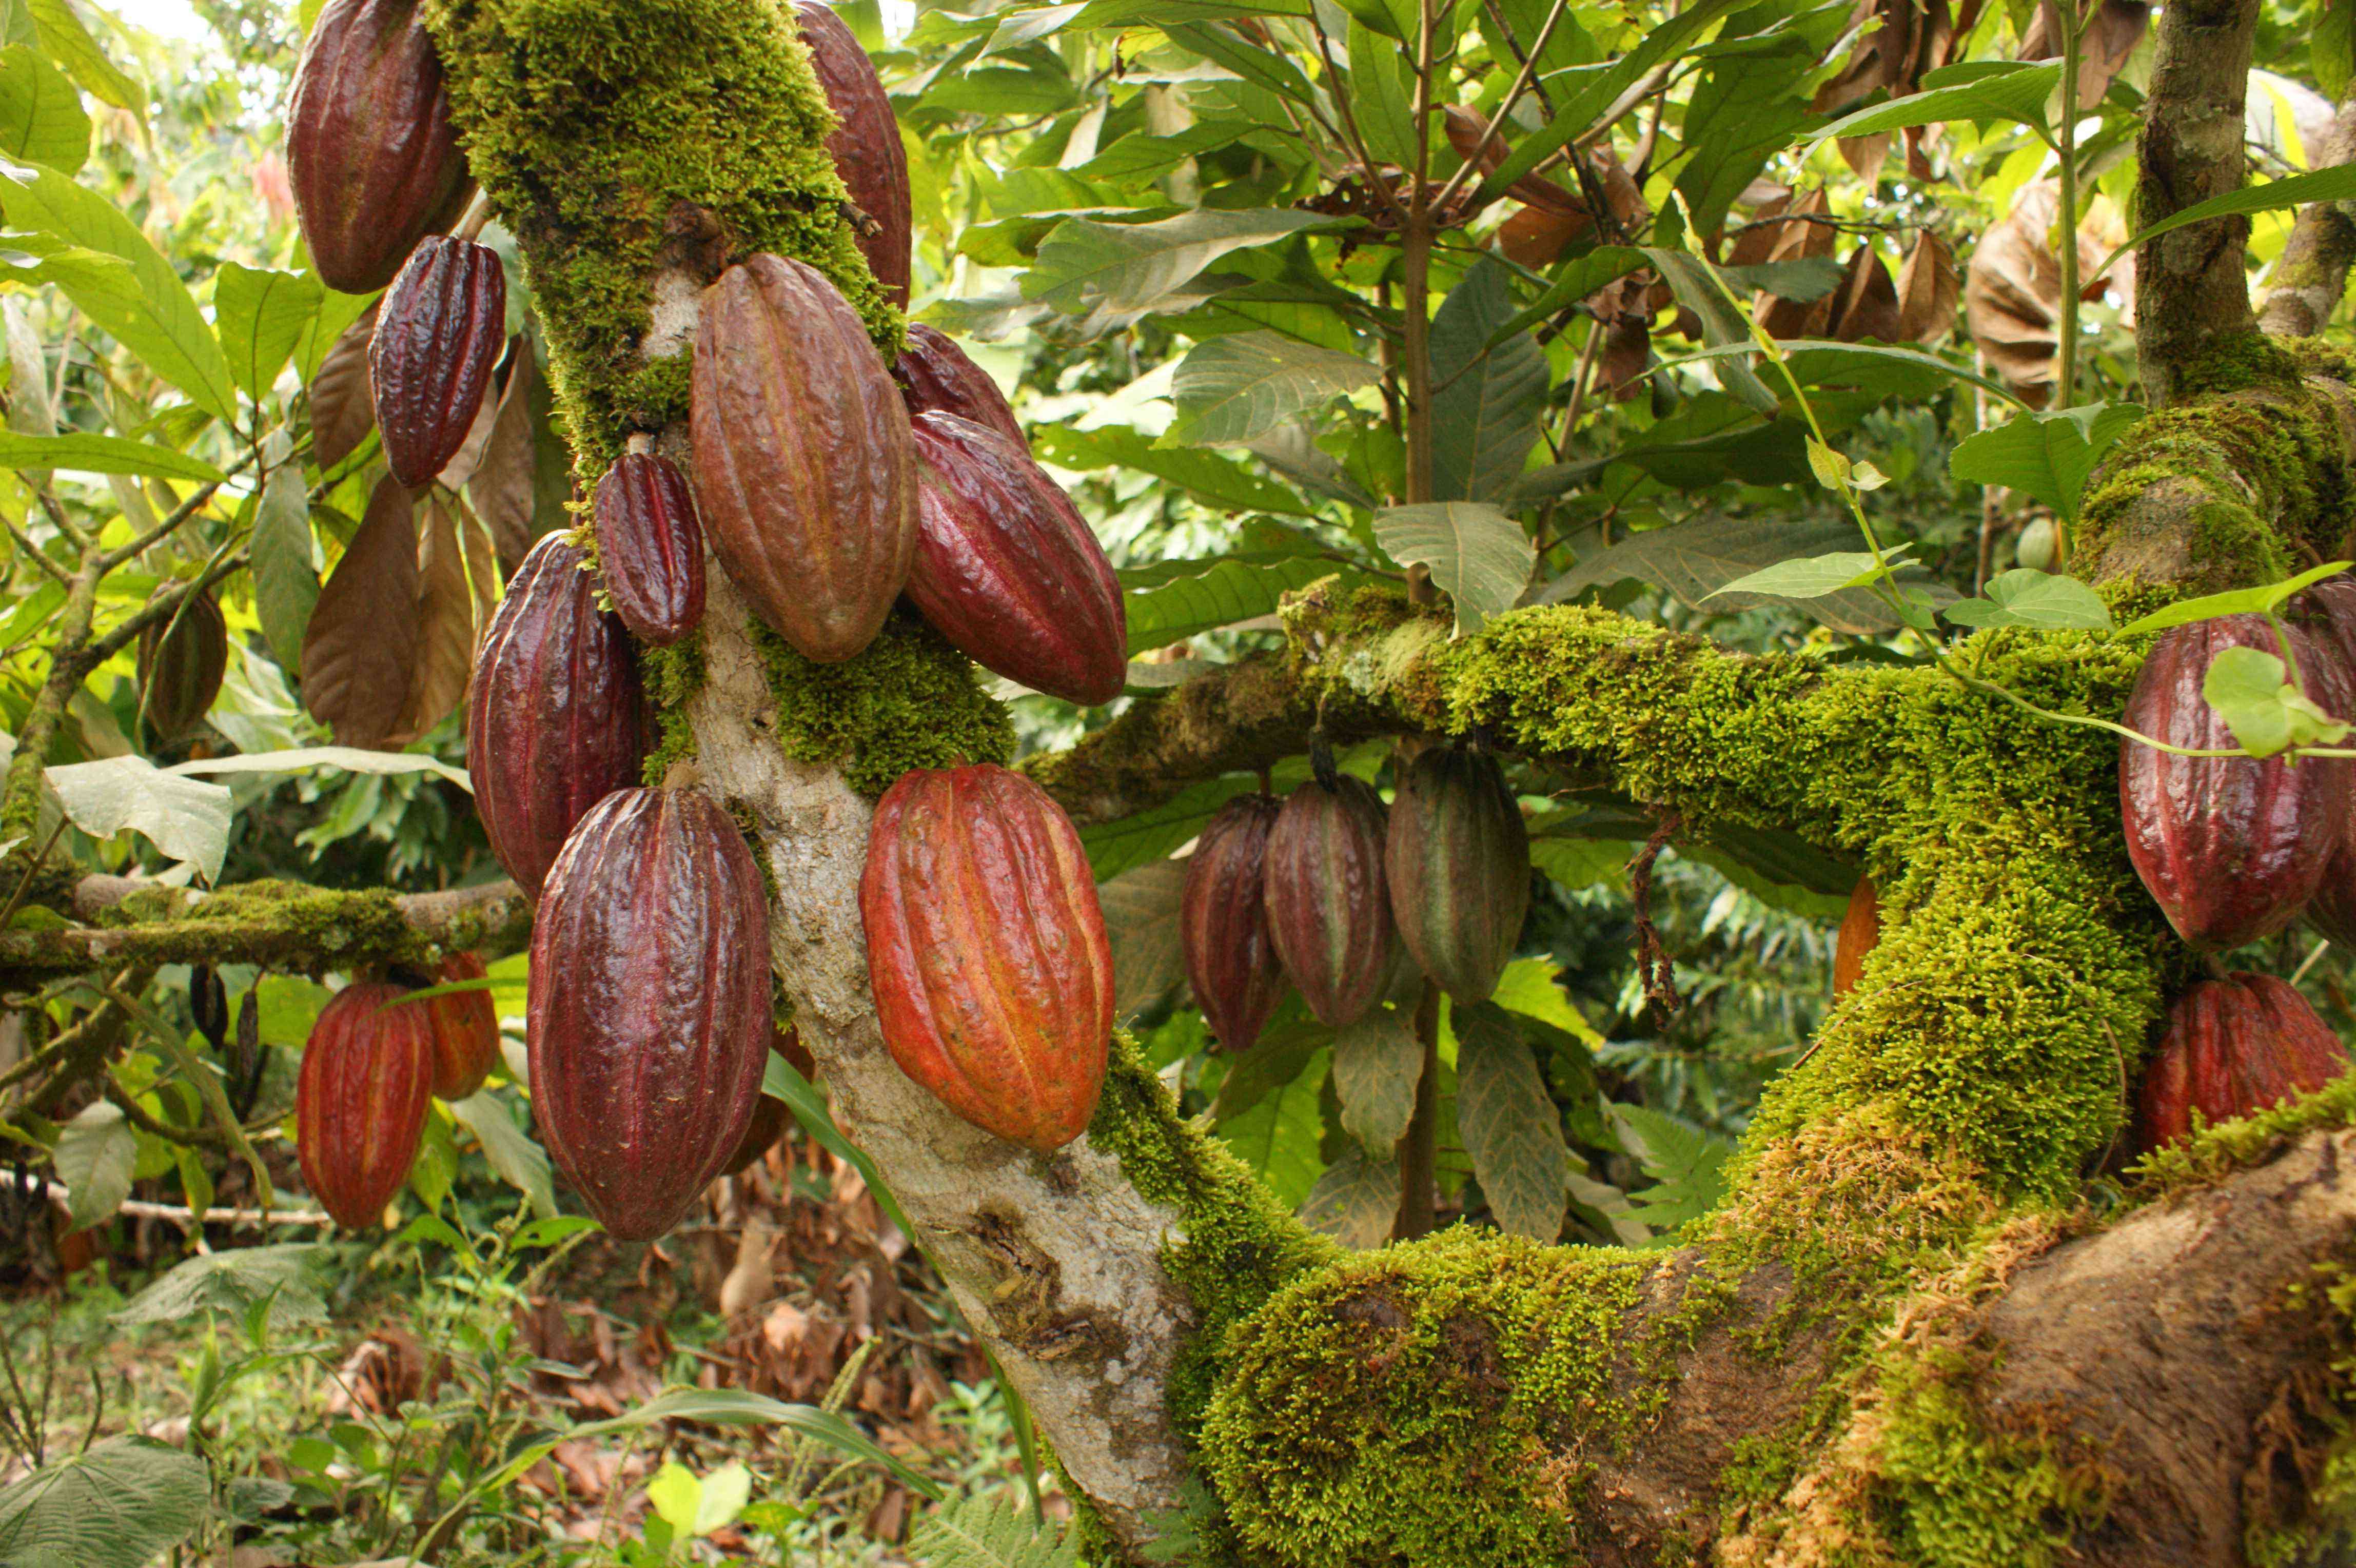
limbs and trunk of the tree and the beans are seen inside the pods. When the pods are in the tree, it is known as cacao. And Cocoa is a term used for the cacao seed after it has been harvested. The beans, once harvested, are fermented and dried and these beans are known as cocoa. In other words, cocoa is the refined or processed product of cacao. Where cacao is raw and unadulterated, cocoa is cooked and adulterated. Organic raw cacao is my favorite!

Cacao is known to contain more than 300 compounds that include carbohydrates, fat, protein, copper, fiber, iron, calcium, zinc, sulphur and magnesium. But once the pods are heated, or processed, they lose much of their nutritional value.

Try making your own chocolates using raw cacoa as a treat and for the health benefits! I also add a tablespoon to smoothies for a satisfying chocolate flavor without all the added fats and sugar. Here’s a super simple recipe and be sure to check below for links to some other chocolate treat sensations we whip up at home.

Homemade Cacao Bark

¼ pound (4 ounces) of cocoa butter
¼ cup of organic raw cacao powder
1 ½ – 2 tablespoons of honey
½ of a vanilla bean pod (optional)
Melt the cocoa butter using a double boiler or in a bowl resting above a pot of hot water. Mix in the cacao, honey and vanilla bean scrapings. It’s now ready to pour in molds or my favorite way (and easiest) is to pour the mixture onto a dinner plate and put it in the fridge for 30-60 minutes to harden.

Once it’s hardened I break it (or cut) into pieces and enjoy! Stores great in fridge for a couple weeks.

FOR EXTRA FUN: I add dried blueberries, cherries, cacao nibs, and raw sunflower seeds in the melted mixture to give myself a bit of variety. Super yummy too!

Check out my other chocolate fix recipes that are healthier choices over store-bought, processed junk! The taste difference is amazingly different…and it’s healthier. Who said eating healthy didn’t taste great? Not me! 🙂

Peanut Butter Cups

Healthy Peanut Butter Cup
Hubby likes these better than Reece’s! You will too…


Frozen Banana Bites

Frozen Banana Bites
Dairy free frozen treat. Quick and simple frozen banana bites are great to make with kids!

Filed Under: Body, Healthy Eats Tagged With: banana, cacoa, chocolate, featured, peanut butter, recipe, sweets

Peanut Butter Cups

December 4, 2014 by Joni 2 Comments

Who doesn’t love the taste of peanut butter and chocolate? We do around here! Since I’ve made it my mission to rid the house of processed crap (sorry, Mom – I know you hated that word, but it is what it is!) it was also up to me to replace the bit of sweet (M&Ms!) the hubby liked every once in a while.

I stumbled on this recipe and tweaked it a bit and it’s the ‘go-to’ now in this humble abode. Several awesome qualities in this little bit of melt-in-your-mouth heaven:

  1. Super simple. I can whip up this three-layered recipe while prepping for dinner and by the time the kitchen is cleaned up after dinner we have a nice little nosh to top it off.
  2. Much healthier. The M&Ms with their ingredient list a mile long were not even close to real food. These peanut butter cups are made from simple real food ingredients. Yay!
  3. Keeps well. We pop it in the fridge for at least two weeks and it is just as good when I first made it.
  4. Serving control. Yes, I do like control. I confess. Making my own makes it super simple to cut the yumminess into little bites that please the palate and take care of the urge for sweets. If one doesn’t do it for you – take two – they’re small.  🙂

Healthy Peanut Butter CupThis recipe is no bake, vegan and did I mention tasty? Also, try to opt for organic when shopping for ingredients!

Ingredients

Chocolate Crust

¾ cup ground organic almond flour/meal
2 T organic raw cacao powder
2 T pure maple syrup
1 T melted organic coconut oil
Pinch of sea salt

Peanut Butter Filling

½ cup creamy natural peanut butter
3 T pure maple syrup
1 T melted organic coconut oil
Pinch of sea salt (or more to taste)

Chocolate Topping

¼ cup organic raw cacao powder

¼ cup melted organic coconut oil

3 T pure maple syrup

Instructions

Line a standard loaf pan (like you make banana bread in) with parchment paper and set it aside. In a medium bowl, stir together all the chocolate crust ingredients until a moist dough is formed. Press the dough evenly into the bottom of the lined loaf pan, and place it in the freezer to set.

To prepare the filling, you can use the same bowl to stir together the peanut butter, maple syrup, coconut oil and salt. Depending on whether you’re using salted or unsalted peanut butter, you may want to add more salt to taste. Store-bought peanut butter cups are quite salty, so I like to add a generous pinch of salt to mimic that flavor. Remove the crust from the freezer and pour the peanut butter filling over the top, using a spatula to spread it out evenly. Return the pan to the freezer to set.

Rinse the mixing bowl, and use it again, if you like, to make the last layer. Combine the raw cacao powder, melted coconut oil, and maple syrup, whisking well to break up any clumps. Once the mixture has become a smooth chocolate sauce, pour it over the peanut butter layer, and return the pan to the freezer to set until firm, about an hour or two.

Once the bars are firm, grab the edges of parchment paper to easily lift the solid bar from the pan, and use a sharp knife to slice the bars into your desired size. Store them in an air-tight container in the fridge for up to two weeks, or in the freezer for up to a month. (The bars become very firm if frozen for too long, so I prefer serving them from the fridge after the first firming-up time.)

Tips:

If you don’t like coconut oil and don’t care about the vegan label, you can use real butter since it firms up well.

Not feeling maple syrup? Try honey! I’ve made it with both ways and we like both.

If you store your maple syrup in the fridge make sure it is warmed to at least room temp before you add the coconut oil in the last layer. I’ve had that globby mess before, but a little warm water on the outside of the bowl made the chocolate sauce as smooth as silk in no time!

Enjoy!


Other Recipes

Hashed Brussels Sprouts

Crazy for Cranberry Sauce

Date Carmel Apples

Filed Under: Healthy Eats Tagged With: chocolate, coconut oil, featured, maple syrup, peanut butter

Before Footer

Digging Deeper…

Footer

  • Home
  • Privacy Policy
  • Disclaimer
  • Disclosure

Copyright © 2023 · Wellness Pro on Genesis Framework · WordPress · Log in