Maintaining an organic approach to gardening can be a maddening experience for gardeners. Us included. This is especially true when it comes to aphids and leaf miners. We found sticky traps do a fabulous job of keeping these marauders in check. Plus, sticky traps are a great early warning system because you can see the little buggers and get a heads up when they’ve decided to invade. We use them regularly!
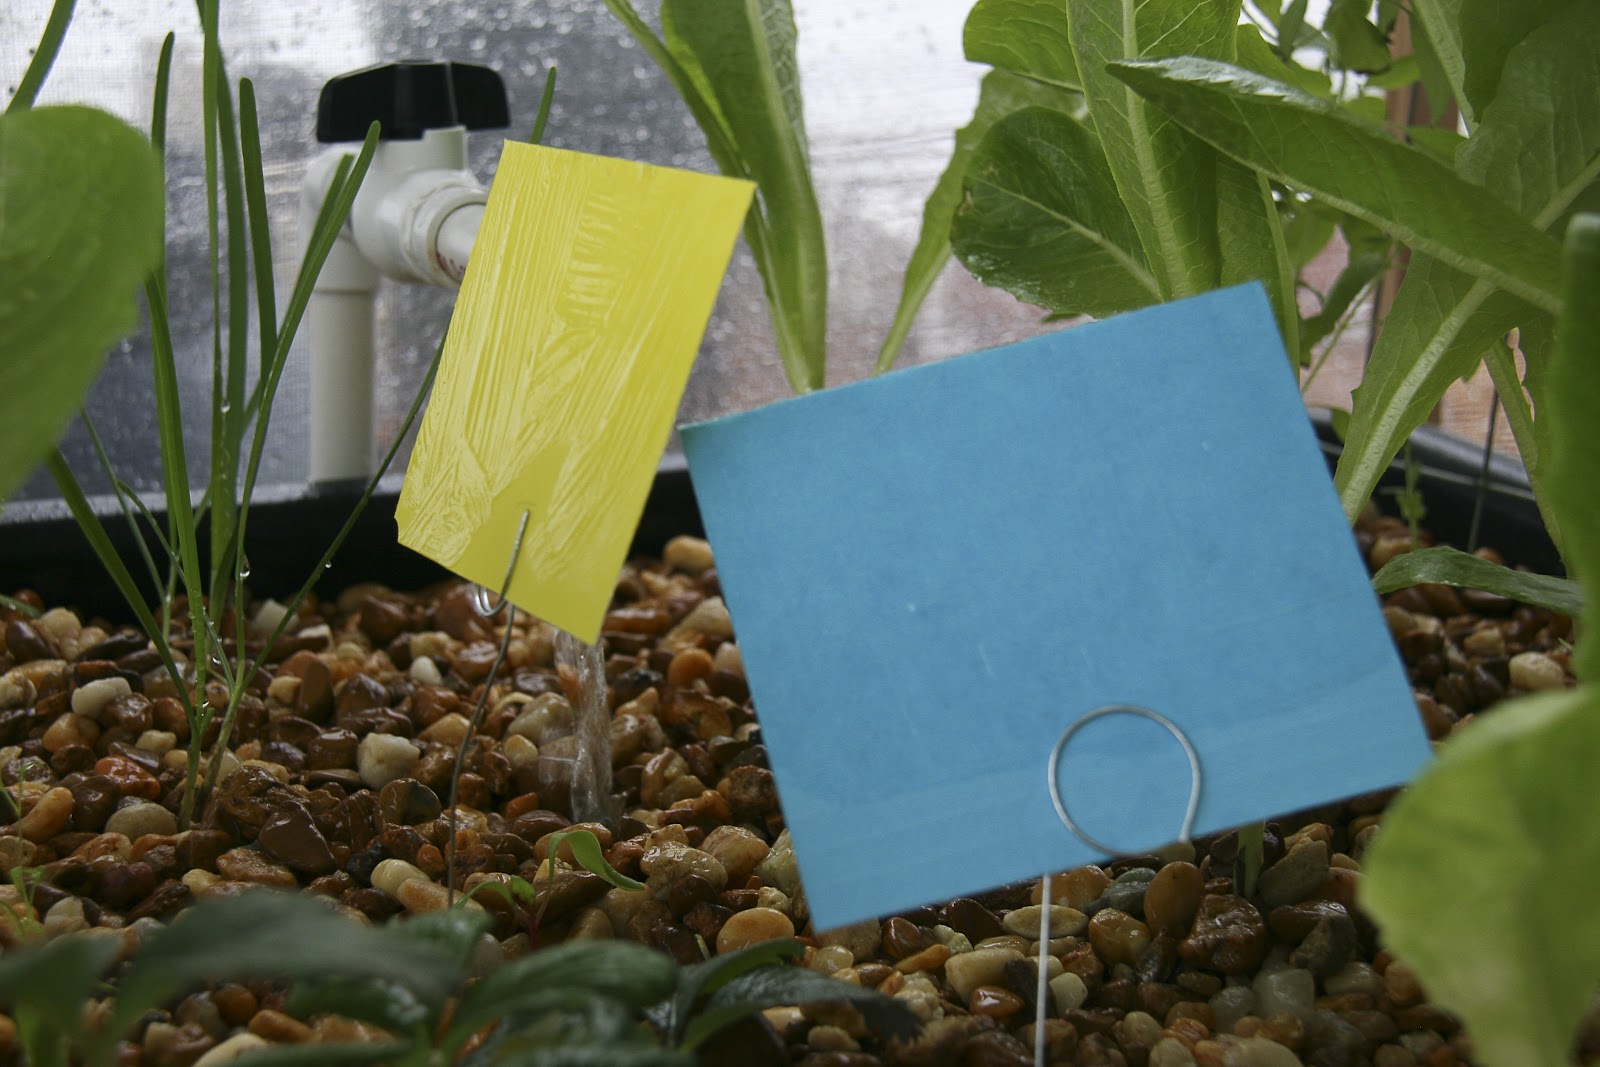
There are two colors that the most notorious pests seem to gravitate toward – yellow and blue. Yellow is an attractant for Whiteflies, adult Fungus Gnats, winged Aphids and many other unwanted garden visitors. Blue is an attractant to Thrips and Leafminers and people report great success when used around roses.
The whole do-it-myself thing started nagging at me. I wanted to make my own instead of buying pack after pack of the little sticky treasures. I found a paint-on sticky coating made by Tanglefoot and scooped it up. I had some old file folders in yellow and blue and decided they would be firm enough for greenhouse sticky traps. However, I would suggest using plastic plates or plastic file folders for outside jobs. The only thing lacking was a way to hold them up or stake them in the ground. Jerry is ingenious and of course had an immediate solution! Here is how we did it…
Materials
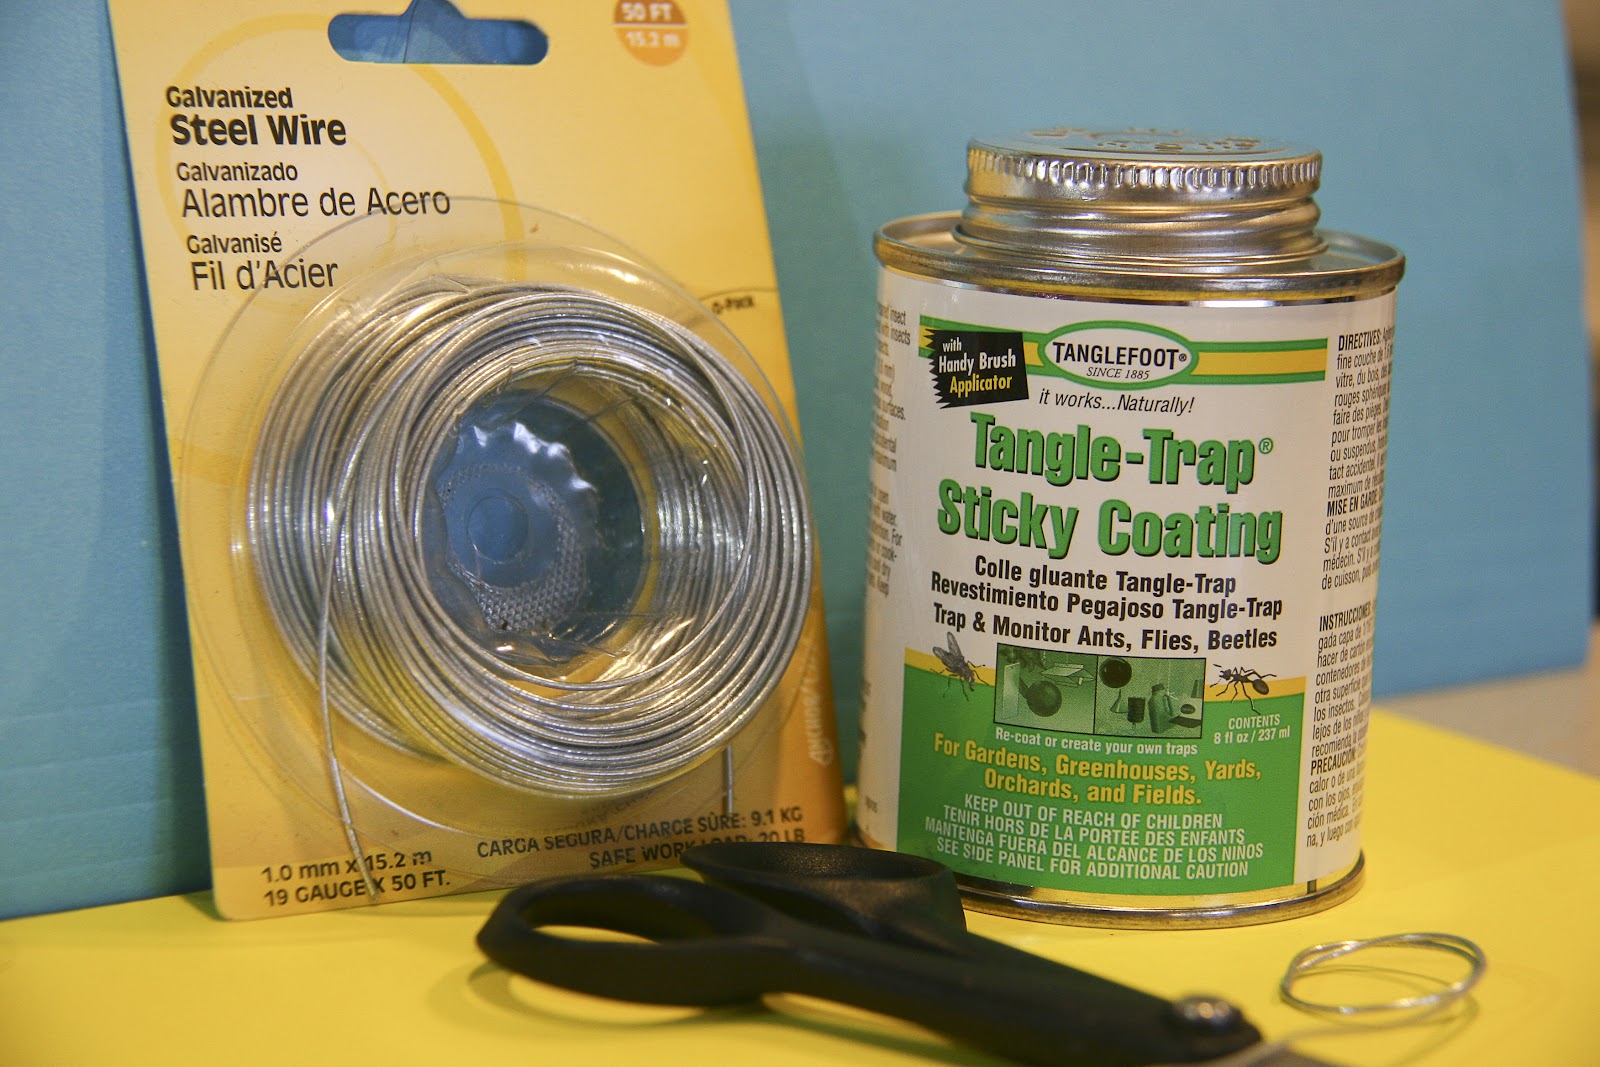
- Tangle-Trap Brush On Sticky Trap Coating
- Yellow or Blue paper or plastic squares
- Galvanized Steel Wire (we had 19 gauge – lower the number higher the gauge)
- Piece of ½” PVC pipe to help make the stakes
Steps
1. Cut your yellow and blue material into squares (size and shape is up to you).
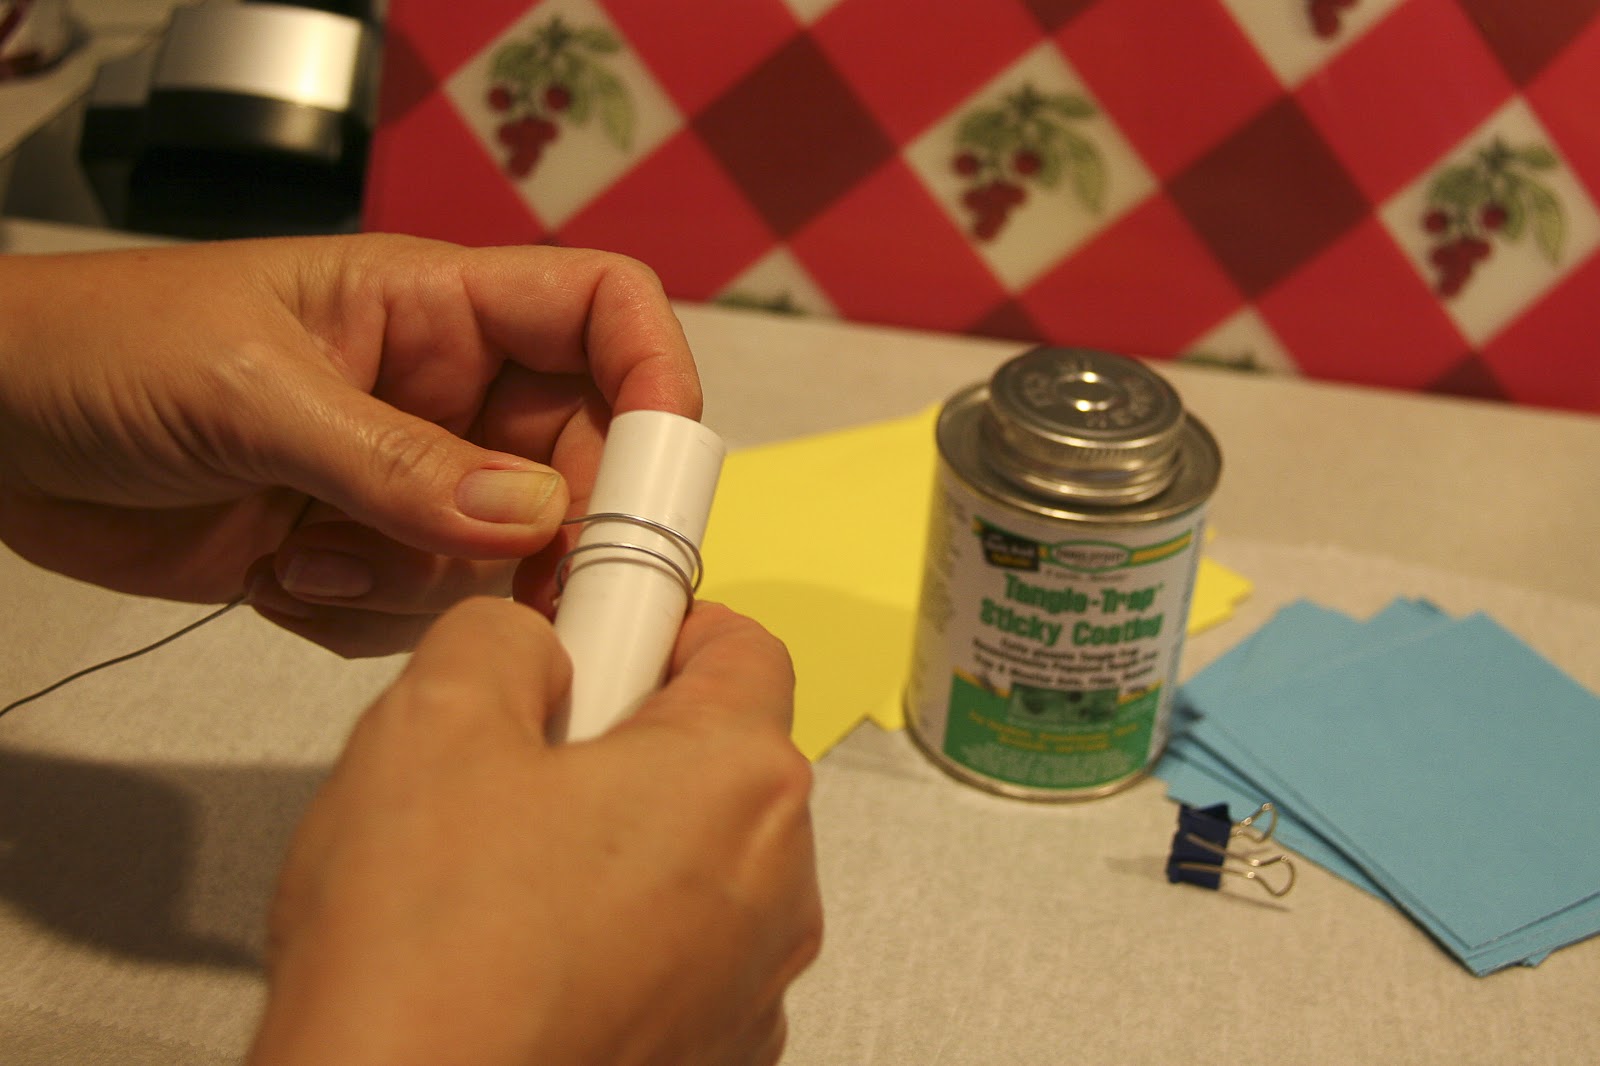
2. Make stakes by cutting a section of wire and using the PVC tube to wrap a loop – three go-rounds should do it.
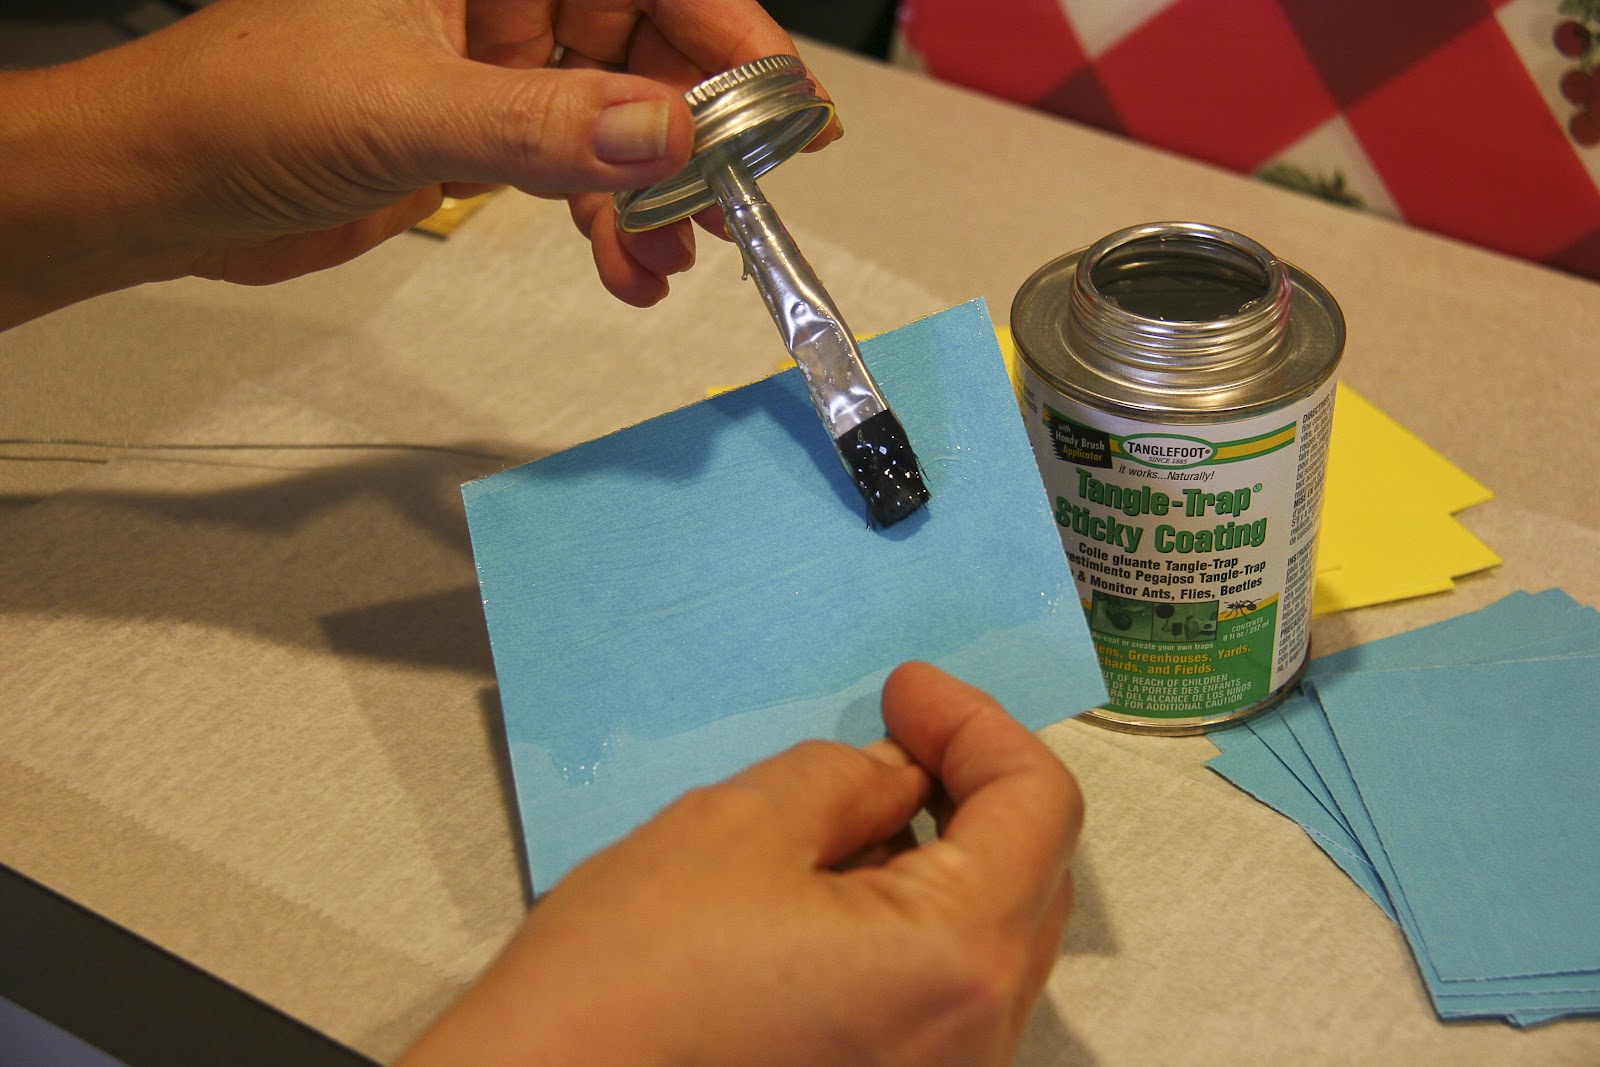
 3. Paint a thin (1/16”) coat of Sticky Trap Coating over front and back of square. (It really is sticky – so be careful of your hands/surfaces!).
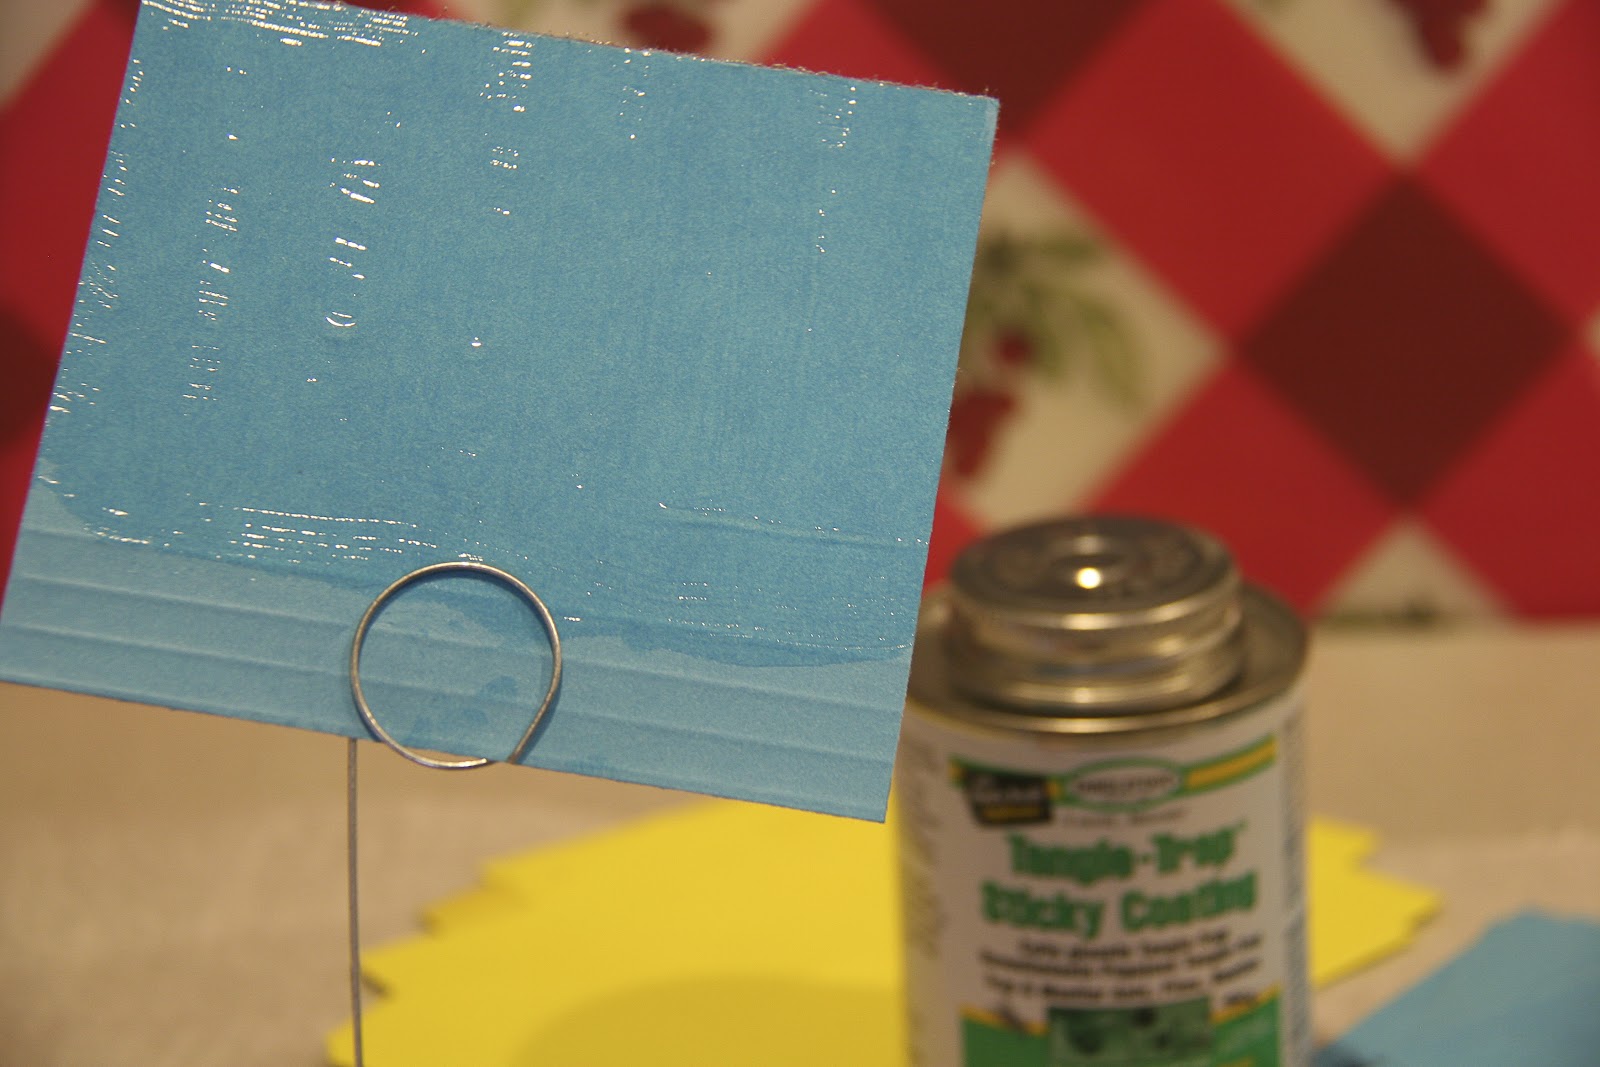
4. Slide card into loop and place in the garden.
It is recommended to place the traps about 3-7 feet apart within or just above plant foliage. When we need to hang sticky traps in the seedling greenhouse we use a binder clip and a bread tie to secure them.
Bottom line….these DIY sticky traps work and are much more economical for us! You can find Tangle-Trap Brush On Sticky Trap Coating for around $15 for an 8 ounce can and use any yellow or blue paper/plastic you find. I imagine we will get hundreds of sticky traps from this one can. When compared to approximately $1 a card for the pre-made sticky traps, I’d say this is the sustainable avenue.
Let us know if you give it a try. We would love to hear from you!